Hello, welcome to "Kindred Kreations"

This blog is about our life at home, and away from home... everyday happenings, and special occasions. We enjoy a variety of pastimes, but our main joy is making "Kindred Kreations". Thank you for joining us in our journey of growing together through faith, family, love for learning, projects, and more.


Tuesday, November 22, 2011

Thanksgiving Project #2 and Wacky Wednesday Challenge #59

For my next project I did a simple embellishment for the guest bathroom. Amazing what a bit of patterned paper, buttons and twine can do!
I started with some patterned paper from Cloud 9 and Chipboard cutouts from Maya Road. I inked the shapes with various distressed inks and added a sentiment. I finished it off with buttons and twine from PTI and wrapped the tops with jute twine.
I thought this would be fun to add to the Wacky Wednesday Thanksgiving Challenge over at More Than Favors.
Have a great Tuesday everyone and thanks for stopping by.

Sunday, November 20, 2011

Thanksgiving project #1 Placecards

Whew, birthdays are over and Thanksgiving is almost here. I spent the week planning and shopping for most of the meal and was able to finish a couple of projects.
For this year's placecards, I used PTI Friendship Jar and Fall Fillers stamp sets. I have been wanting to play with these sets and decided to try a bit of paper piecing. I started by using the coordinating dies and cut the jar and topper from PTI Vintage Cream cardstock. I then cut the topper again with various patterned paper from last years Amber Autumn stack from DCWV. I cut the tag and "ribbon" from the plain tag and pieced it on the patterned stack, inked the edges and stamped the sentiment and popped it up on the jar. I just made tent type stands from kraft carstock to adhere the jars to. I made 15 of them and a couple of extras so I can do a little more paper piecing. (it's a fun technique and I need the practice). I thought about adding buttons and twine, but after I put the names on there wasn't much room:)

Wednesday, November 16, 2011

Final Birthday Project: Cupcake Wrappers

Here's the final project: 24 cupcake wrappers. I used the Cupcake Wrappers Lite cartridge for these cut out at 2 1/2". I didn't have a cupcake handy to measure with or I would've cut them a bit smaller. After they were cut and assembled (using my 9" Xyron) , I used the Cuttlebug to emboss and added some Stickles on the "flames" and wheels. Pretty simple all in all, the cuts on that cartridge can be very intricate, but this one cut just fine.
The party's over and was super fun. The boys were wonderful and very excited!

a

Friday, November 11, 2011

Birthday Project #4 Banner

For today's birthday project I made a banner with the boy's names. I used my PTI Coasters again (loving these) and covered them with 4x4" square of paper, the corners cut with the Corner Chomper and I inked the edges. The next layer is a 4" scallop circle cut from the Mini Monograms cartridge adhered with pop-dots. The letters are cut from Nate's ABCs cartridge with the font 2 feature and font 2 shadow feature. The characters and checkered flags are cut from the Cars cartridge. I added some Glossy Accents, Stickles and Cuttlebugged whatever I could. I just used some twine to put it altogether.
This has been alot of fun to put this together for the boys. I figured I can deconstruct some of the decorations and use them in the scrapbook layouts!
I tried my best to photograph the banner, but for the life of me I can 't seem to do a good job. Any tips would be helpful.
The birthday party is Sunday and I'll post the last project then: Cupcake Wrappers!

Thursday, November 10, 2011

Birthday project #3 Goodie bags

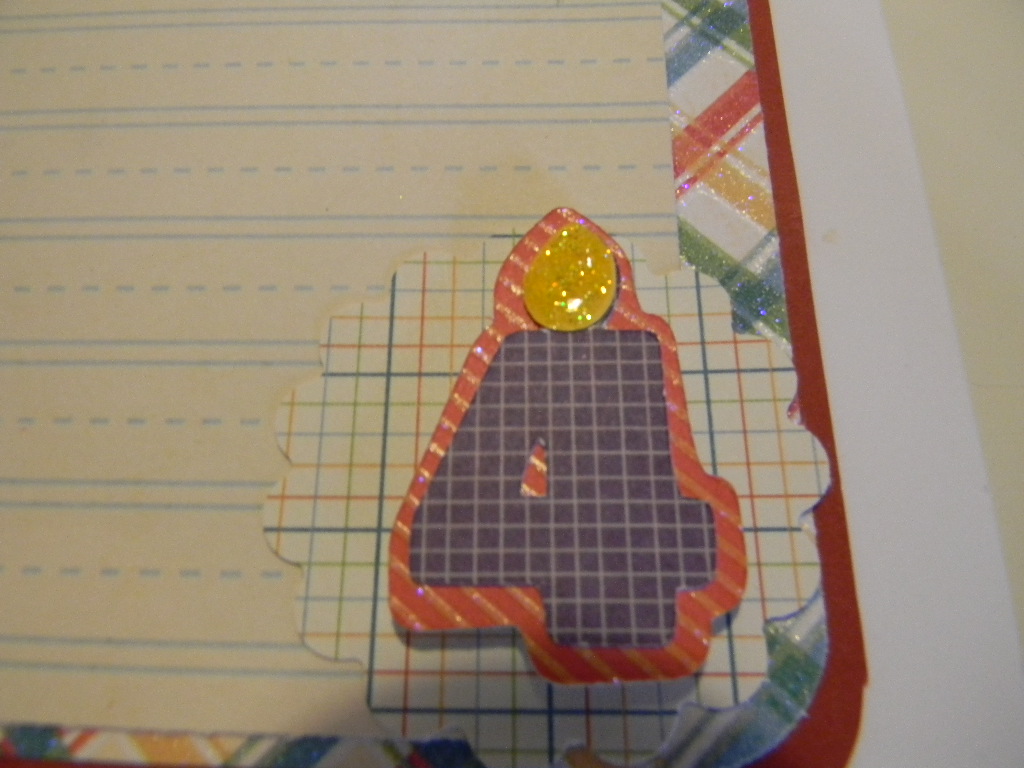
My next project for birthday week: I needed to create some simple goodie bag toppers. I already had the bags, so I added the goodies and decorated a bit. I stared with a 5x5" square and scored it at 2 1/2", then added a strip of red punched with Fiskars Treading Water, I used a couple of scallop punches and stamped a sentiment from MPS Everyday Occasions set. The "4" is from the Sweet Treats cartridge embossed with a Cuttlebug folder and I used some character stickers to finish it off. I added some stickles, but have learned to keep the bags simple as the kids are more interested in what's inside.
Thanks for stopping by. Only a couple of birthday projects left!

Wednesday, November 09, 2011

Birthday project #2 Jazzed up Juice boxes

Still making projects for the birthday party this weekend. Since the kids who will be here are pretty young (4 and under) I thought it would be easier to have cups with lids rather than just the traditional party cups; however, the juice box cups I found were pretty plain so I needed to come up with a way to jazz them up a bit. I tried just using vinyl to add each of their names, it was still to plain. I have seen water bottles decorated and decided I could modify that design for my project.  It was pretty simple really, just trim the paper and score, cut the top with a punch and decorate. I used Nate's ABCs cartridge for the font and some chipboard "Cars" pieces I picked up at Joannes.

Tuesday, November 08, 2011

Birthday Project #1: Birthday Invite

It's birthday week for the boys, so I pulled out my Cars cartridge and gave it a whirl. I only had to make six invites, so it wasn't too bad. I cut Lightning McQueen at 3 1/2" but it would have been better to cut him a bit bigger as there are a lot of detail cuts. I added Glossy Accents around the tires and windows and some stickels too.  I used The patterned paper is from DCWV Celebrations stack and a Martha Stewart Loopy punch and EK Success label  and scallop punch. I used PBD "Party time" stamp set to create the sentiment on the front and the inside. The "4" is from the Sweet Treats cartridge.


Saturday, October 29, 2011

Sentimental Sundays Challenge #78

This week the challenge over at Sentimental Sundays is to create a Halloween Project with a sentiment.
I have been wanting to play with my PTI Friendship Jar and Friendship Jar Fall Fillers stamp sets for awhile now,  and this was a perfect opportunity. I used the PTI dies to cut the jar and lid, then embossed the jar stamp, ghosts, spiders and lid with Versa Mark ink and white embossing powder. I decided to use my Nestabilities for the deckled edge rectangles and some strips cut using the Fiskars Treading Water edge punch. I used the IROCK to add some bling and a white gel pen for some doodling. Cardstock, buttons, twine and ribbon from PTI.
The projects that are submitted each week are terrific. Lots of inspiration and fun to browse.


Friday, October 28, 2011

"A Spooky Banner" for My Creative Time's Design Team Call!

Happy Friday everyone! Emma at My Creative Time is having a design team call. I thought it would be fun to submit a project. I have been following Emma for quite some time and I am always so encouraged by her creative projects and encouraging words. Her Throwback Thursday Challenge was the first I ever entered! It has been great to see the stamps and dies she has created, as they are a wonderful addition to my crafting!
Ok, for this banner I used the PTI coasters again, added pattern paper, inked the edges. I am still trying to perfect the rosette; but, I am not giving up! The font is from the Happy Hauntings cartridge using the vampire shadow and vampire font cut at 2 1/2". I used my Imagine with the Snapshot Texture cartridge and the Happy Hauntings cartridge to create the extra images. (I am fairly new to the Imagine and still need to do an update so I can use my Gypsy as well). I ran all through various cuttlebug folders, added a little bling with my IROCK tool, a bit of Glossy Accents and some doodling with a white gel pen. The sentiments are from one of Emmas called Mixed Holiday Sentiments. I am loving this set for all of the upcoming holidays. (I do have to say that when I order a set of stamps from her, it comes super quick....I love that!) I punched the sentiments with various EK Success punches. They're a bit hard to see in the photo, but I also added a couple of PTI buttons.

This has been a fun challenge for me. If you get a chance check out the amazing entries over at
http://www.creativetimeforme.com/2011/10/my-creative-times-first-design-team.html


My Creative Time

Thursday, October 27, 2011

Embellished gift bag and tag using the Imagine

For this quick project I took a white gift bag (I buy these in a bundle using my 40% coupon from Michaels to have on hand) and covered the front and back with PTI berry sorbet cardstock, PTI ribbon, prima flower and used a border punch for the top and bottom edge. The images were cut using the Imagine More Cards cartridge. I selected the images, used the layers feature, pressed print & cut, then assembled. I inked the edges a bit a popped up some of it for more dimension.


Have a wonderful day!

Wednesday, October 26, 2011

Wacky Wednesday #57 Anything Goes

Over at More Than Favors, Paula is hosting her weekly challenge and this week it's Anything Goes! This works great for me as I always have lots of projects in the works (if only I could get them posted).
These cupcake holders and banner were created for my sister-in-law. I used the Cupcake Wrapper Lite Cartridge for these. Simple to use really, just the base and the layer. All of the images are quite detailed and getting the size right can be tricky, but the results are terrific. Just set your speed on your Cricut to low. (takes a while to cut, but great results). The banner was cut from Country Life Cartridge.
Hope your week is going great!