Hello, welcome to "Kindred Kreations"

This blog is about our life at home, and away from home... everyday happenings, and special occasions. We enjoy a variety of pastimes, but our main joy is making "Kindred Kreations". Thank you for joining us in our journey of growing together through faith, family, love for learning, projects, and more.


Friday, June 28, 2013

Homemade Goodies and Exploring Cricut DT Post

Good Morning Everyone,

How's summer going so far? I sure do have more time to craft and create. I am almost even caught up on Project Life! (well, almost)

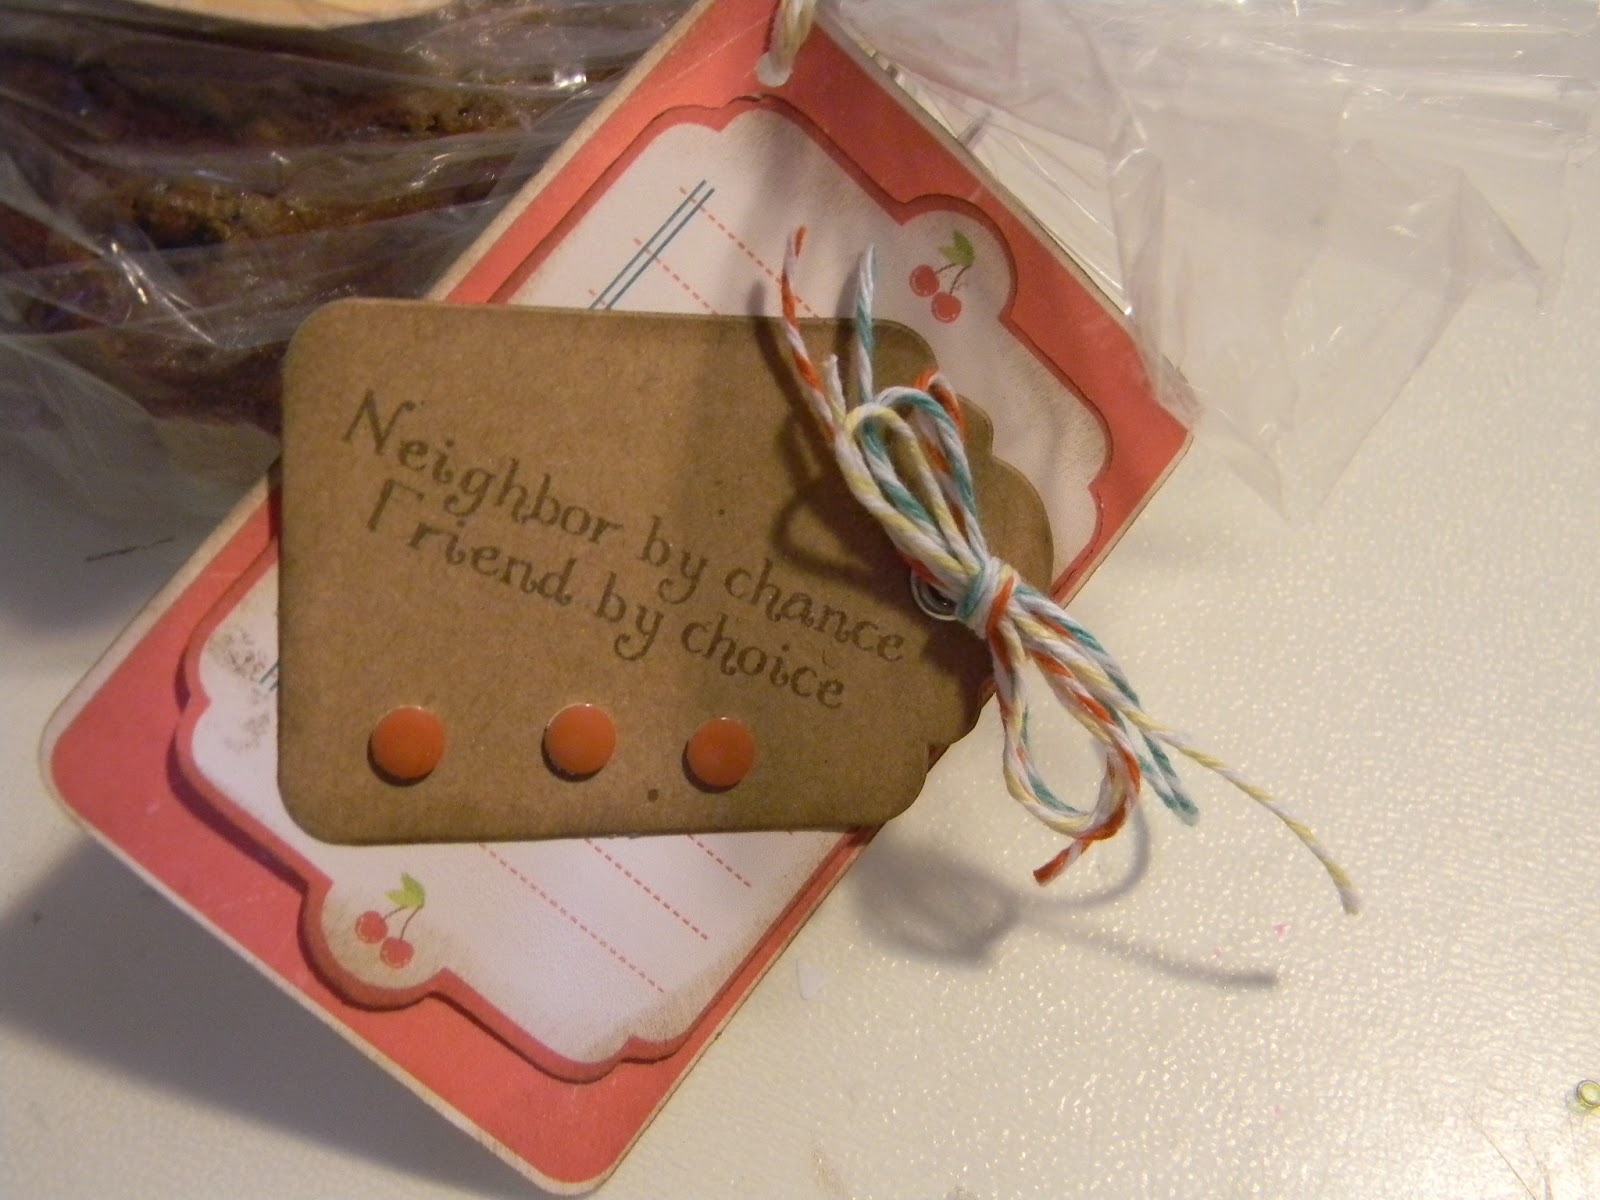
For today's Exploring Cricut DT project I made a cute label and tag for some homemade chocolate banana nut bread Sara and I made for a neighbor.

This project just begged for the Imagine cartridge Kate's Kitchen! The retro themed images and colors are too darling to resist.
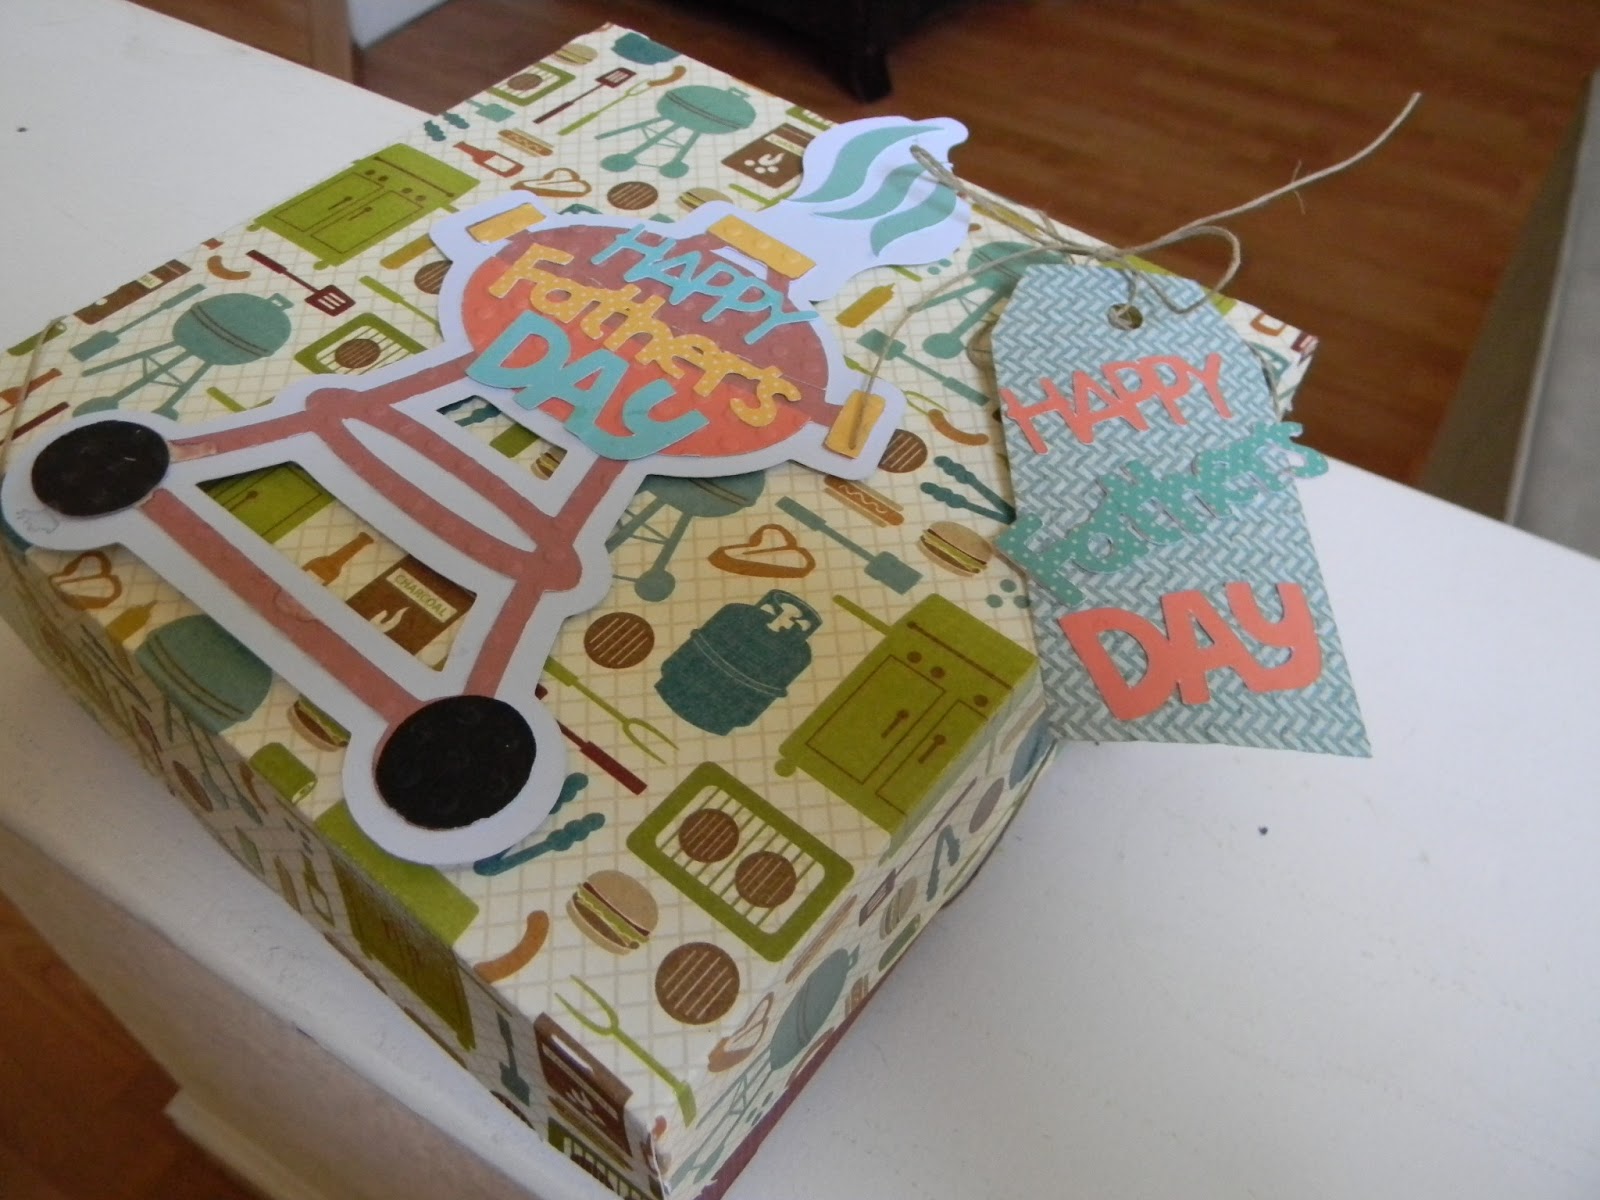
I chose the bread and butter image, cut it at 3" using the layer feature. After inking the edges I ran it through my Cuttlebug for a bit of texture. I also added foam tape to part of the layers.
Next came the "Made with Love" label and that was cut at 4.5" (no layers to this one) I added a twine bow and enamel dots.
The tag was also cut at 4.5" and had one layer which I added with foam tape. I added another tag, inked the edges, wrapped with twine and added a few more enamel dots. The sentiment is from Pink By Design's Home Sweet Home stamp set.


Please visit Exploring Cricut for daily Cricut inspiration. The Design Team comes up with some wonderful projects using cartridges and images that always amaze me.
Also... Another great challenge just up ahead... Be sure to play along.

Thank you for stopping by.

Saturday, June 22, 2013

Fun-Day Friday Challenge #5: Critters!

Happy Saturday my Fellow Crafty Friends,

Do you ever wish there were more hours in the day to craft? That's the way I am feeling lately.

 Be sure to visit
Jo's Scrap Shack as  she has fun challenges that run from Friday to Friday, which I love because then I am able to use the extra time found on weekends to create!

This week the challenge was to use a "critter" as part of your project. One of my girlfriends just welcomed grand baby #5, a beautiful petite little baby girl. I brought the family dinner today along with a little something and made this little tag to tie on the package.

I started with a pre-made tag, inked the edges and created little banners from Paper Trey Ink's Sweet Blush cardstock. The Baby Button Bits stamp set is also from Papertrey ink and I used the Bear image stamped and cut in a medium brown cardstock from Recollections and added it to the tag using a double thickness of  foam tape for dimension, a little doodle with a white gel pen helped to add a bit of brightness and contrast. I added a button, twine and ribbon also from Papertrey ink. The sentiment is from the same stamp set and I added a little bling to finish  it off.

What to you think? Cute??


Friday, June 21, 2013

Simon Says Stamps & Show: Kraft Challenge!- "Wanted"

Happy Friday everyone,

This week at Simon Says Stamp & Show the challenge is to use Kraft... I haven't entered a challenge over there before so I was looking forward to taking on the task!
I am planning my dad's 70th birthday party and since he is an avid western fan, the Kraft scheme worked perfectly.
I started with Paper Trey Ink Vintage Cream and Kraft cardstock.
The stamped images are from Pink by Design. 
 After choosing several of the images, I began stamping, inking and punching. Then created a banner and finally adding some little details like PTI button twine and pearls.
I punched the circle on the top right to reveal the bronco image while making sure the inside invite information didn't interfere with the space.


This was a simple design, something I am not accustomed to doing. I always want to add "one more thing".
Please take a minute and pop on over to check out the awesome inspiration.

Thanks for stopping by.


Monday, June 17, 2013

"Father's Day Challenge at Exploring Cricut!

Good Morning and happy Monday. I usually don't love Monday's but this one is terrific because today starts a new challenge over at Exploring Cricut
Today's challenge is to create a card, layout or project for the favorite man in your life and use your Cricut! Super easy right?

I created a couple of gift boxes and tags. I started with the Sweet Tooth Boxes Cartridge and chose the cupcake box and cut it at 11.5". There are three different lids to choose from, I chose the square and opted not to add the insert for cupcakes since I was filling my box with other goodies. Homemade brownies!
These particular boxes go together easily and quickly. No fussing... Which I love especially when I am making more than one of something.
The paper is from DCWV Guy Stack. An oldie but goodie.
Next came the images to go on top... I was trying to coordinate the paper and images and it was pretty easy with all of the cartridge choices available:)

The shirt and tie image are from Create a Critter 2 and cut at 7".  I ran the tie through the Cuttlebug and attached it with some foam tape. I love how it came out and matched the ties on the paper.


Next, the Summer Celebrations cartridge had this great BBQ image, so I cut that at 7.5" with all of the layers. The "Happy Father's Day" word art is from the phrase feature found on the Create a Critter 2 cartridge cut at 3". The tags were also cut from the Sweet Tooth Boxes cartridge.


Thank you for visiting. Be sure to check out the wonderful projects posted at Exploring Cricut and enter the challenge!


Friday, June 14, 2013

"Gone Fishin.." Exploring Cricut Design Team Post

Happy Friday everyone...I just love the weekend. It's Father's Day weekend too, so even better. What are you up to, anything special planned for dad, hubby? We are heading out to the lake to camp for a few days. I am so looking forward to it.

It is also my day to post over at Exploring Cricut, a blog dedicated to all things Cricut!
Be sure to stop by and check out the daily posts created by the wonderful design team.

For my project today, I created a little gift bag using TBBM cut using the fit to page feature. I started with the Imagine Good Old Days cartridge. The designs on this one are retro looking and vintage. So fun! I chose the print I wanted for my bag and cut that out. Next, I chose the image of the Dad going fishing. The image was cut at 3" using the layers feature. I ran the pieces through my Cuttlebug and added some foam tape for dimension.
Every year as part of hubby's father's day gift, the kids and I get him his fishing license. So of course I thought this little bag would be perfect.


Thank you for stopping by and have a wonderful Father's Day weekend. Don't forget a new challenge starts on Monday, another great reason to visit Exploring Cricut!


Tuesday, June 11, 2013

Peachy Keen Challenge:13-23 3D Object Birthday

Hello all,
Just a quick post for my project entered in the Peachy Keen Weekly Challenge.
This week the challenge was to create a 3D object with a birthday theme.
I started by choosing the Peachy stamps I wanted to use. I recently received my June Stamp of the Month set and I just knew I wanted to use the adorable pinwheel stamp.
I cut a cupcake box using my Imagine and the All Wrapped Up cartridge using the fit to page feature. Next I put in the Sweet Treats Cartridge in my Imagine and created the cute little cupcake using the All Wrapped Up colors. The cupcake was cut at 3.5" with layers. That cartridge also has a tag feature and I cut it at 3.5" also. I ran it through the Cuttlebug and added Glossy Accents to the cherry on top. The sweet little Peachy Face is from the Wide Eyed Kids stamp set.
I printed a couple of extra images so I would have the patterns and colors to stamp and cut the pinwheels from. I added foam tape to the pinwheels for extra dimension.
The sentiment is from Peachy Keen's January Stamp of the month set. I added some twine to the tag also.


Thank you for stopping by and be sure to visit Peachy Keen Challenge Blog for some really amazing projects and I do mean amazing.

Tuesday, June 04, 2013

"Plant One on Me" Layout for PKS: 13-22 Sketch Challenge

Good morning everyone. I am so thankful that summer is just about here, school is finished (with the exception of the end of year organizing) and that means the schedule is not too crazy.

Today's project is for Peachy Keen Stamps Challenge. The challenge was to create a card or layout using the sketch.


I started by looking through my Peachy Keen stamps and found some little gems that I thought would be perfect! I used the flowers, watering can and butterflies from the April Stamp Set of the Month set, and the basket is from the May Stamp of the Month set. (in the May kit, it is a baby carriage but I needed a basket for my flowers)

First off I reversed the sketch, that way the watering can would fit my vision. I made some long banners for the bottom portion using PTI cardstock and inked the edges and adhered them to the page. Next I used a Nestabilities Deckled Edge Rectangle to cover the banner edges and as a base to build my focal point. The basket image was stamped on kraft cardstock which I then cut out and inked the edges.
I started stamping the flower images on various shades of green paper and patterned paper from DCWV Botanical Stack and began cutting paper piecing them together with adhesive and foam tape. I love taking the time to create layers with these stamps. I then stamped, cut and inked  the butterfly images and folded the wings up a bit for some dimension. The little pearls added a nice touch.The sentiment is also from the April Stamp of the Month Set.


Thank you for stopping by, and be sure to enter the challenge over at Peachy Keen Stamps Blog

Monday, June 03, 2013

Exploring Cricut Challenge! Ice Cream!!

Happy Monday my friends. Today starts a new challenge at Exploring Cricut.
Are you ready for this?? Did you know that June is National Ice Cream Month? Well, it is and our challenge this week was to create a card, project or layout with ice cream or a popcicle as the theme. Of course it goes without saying we must  incorporate our Cricut machines and have lots of fun.
So I did..

I took the boys to the park this week and we stopped for a dipped cone. It was a beautiful day. When I had the pictures developed I knew a layout was in the making!

I used the Sweet Treats Cricut Cartridge. It's one of the first ones I bought and I love it. I had the Yummy Cartridge in my Imagine from my last project so I used that to create the ice-cream cones. So easy, again just some white paper. It is really a great time saver to use the Imagine and regular cartridges together.
The images were cut at 4" and I also used all of the layers, ran them through a few different Cuttlebug folders and add some Stickles.
The patterned paper is from DCWV, the Sunshine Stack and the ice cream sentiment at the bottom is a My Creative Time stamp set.


Thank you for stopping by and please be sure to enter our challenge!