Hello, welcome to "Kindred Kreations"

This blog is about our life at home, and away from home... everyday happenings, and special occasions. We enjoy a variety of pastimes, but our main joy is making "Kindred Kreations". Thank you for joining us in our journey of growing together through faith, family, love for learning, projects, and more.


Monday, July 15, 2013

Christmas in July! Exploring Cricut Blog Hop and Challenge!


Hello and happy Monday everyone!
Yes, you heard right....Christmas in July! I always say I need to get busy on my Christmas projects but never seem to do it.  Well Diane, our fearless leader at Exploring Cricut put together this amazing blog hop and challenge! Each Design Team Member Created a Project using her Cricut Machine so be sure to check out each blog!

You should have arrived from, Sharon but if not be sure to start at the beginning at Exploring Cricut

Here is the schedule in case you lose your way!


For my project I decided on some treat bags using Santa's Village Imagine Cartridge.

I LOVE the images and colors on this one... I used the treat box image found in the Bonus Feature section and print and cut it using the fit to page feature. This is a simple cut and would work great to fit several smaller boxes on a page . They were so super  easy to score and fold.  I love the little window cut out and used some acetate sheets left over from some packaging (great way to repurpose!) I used Glossy Accents to adhere it to the box.. A little inking and that was it.

Next I printed the tags. There are several to choose from. I know I can already think of some future projects using a few of them. I chose 3 tags that fit my theme and cut them at 2.0", 3.0" and 3.5". Since they were also found in the Bonus Feature section, there are no layers to these. I added some little details to dress them up a bit, but really they are so cute by themselves. I did ink the edges using some Distress Ink. A little Christmas ribbon and all done!


What do you think?

Now for the fun part!!!
BLOG  CANDY...
All you have to do is leave a comment and it would be great if you became a follower too. In your comment let me know if you have started any Christmas projects yet.
These little goodies are from K&Company. I just love their little embellishments don't you? I also added 5 little treat bags that are just dying to be decorated! I will pick a winner the following Monday so you have plenty of time to leave a comment, become a follower and enter the challenge.


Your next stop is Georgiana
Happy crafting and Merry Christmas in July....


Friday, July 12, 2013

Western Party Decor with Imagine Country Carnival Cartridge

Happy Friday my fellow crafters.
I bring to you today my projects for Exploring Cricut.
My dad celebrated his 70th birthday and and my sister and I hosted a little get together. He is a western fanatic to say the least, so the theme was easy!

Mason jars and decorated straws were first on the list of "to do"

Pint size mason jars
paper straws (I order mine from Cutetape.com
images:
Boot and Jar labels: Country Carnival Imagine Cartridge
Sentiments: Pink by Design

I simply print and cut the boot image and used a hole punch and added them to the straws.
For the labels I printed a page of coordinating paper from the cartridge and cut it in 1" strips. I cut the labels and added foam tape for dimension. I did add distress ink to all images.


Next up were the little treat sacks full of trail mix.

I continued to use the Country Carnival Cartridge for the patterned paper, but used the Old West Cartridge for the "happy trails" sentiment cut at 1.2" inches. I was really surprised how easy the Imagine cut that image so small.
 I made the "flags" using the patterned paper and another Pink by Design sentiment.


I also made a simple banner using the Country Carnival Cartridge. I used a label image for the banner itself cut at 6" and the letters were cut at 5". I wanted it to be more manly so I didn't use the layer feature.


I thought I would share a few pics of some of the other decor I used.


The bottles were another quick project too. I used printable vinyl and created some labels for the root beer.
 These cans of pork & beans were the party favors. I added some patterned paper and made a sentiment on my computer "it's bean a great 70 years". I thought it was pretty cheesy, just what I wanted!


Have a wonderful day and thank you for stopping by. Don't forget to visit Exploring Cricut each day for some wonderful crafty inspiration. The design team has wonderful daily projects using all things Cricut!


Monday, July 01, 2013

"USA" Banner for Exploring Cricut Challenge

Good morning and happy Monday!

Today marks the start of a new challenge at Exploring Cricut.
We are using our Cricut machines to create a card, layout or project celebrating the 4th of July or Canada Day and must include a flag. 

I needed a banner for some home decor so I thought this would make a great challenge project.

Banner: Pretty Pennants banner 2 @ 6" both layers.
Font: Old West Cartridge cut at 5" including the shadow feature.
Flags: Enjoy the Seasons Imagine Cartridge cut at 4" using the layer feature.

I added some buttons and twine, white sheer ribbon and ran the layers through my Cuttlebug, foam tape for added dimension. All paper is from Recollections.


I really hope you will take some time to visit Exploring Cricut and see all of the projects the Design Team created for this challenge. And of course...create a project and enter.


Friday, June 28, 2013

Homemade Goodies and Exploring Cricut DT Post

Good Morning Everyone,

How's summer going so far? I sure do have more time to craft and create. I am almost even caught up on Project Life! (well, almost)

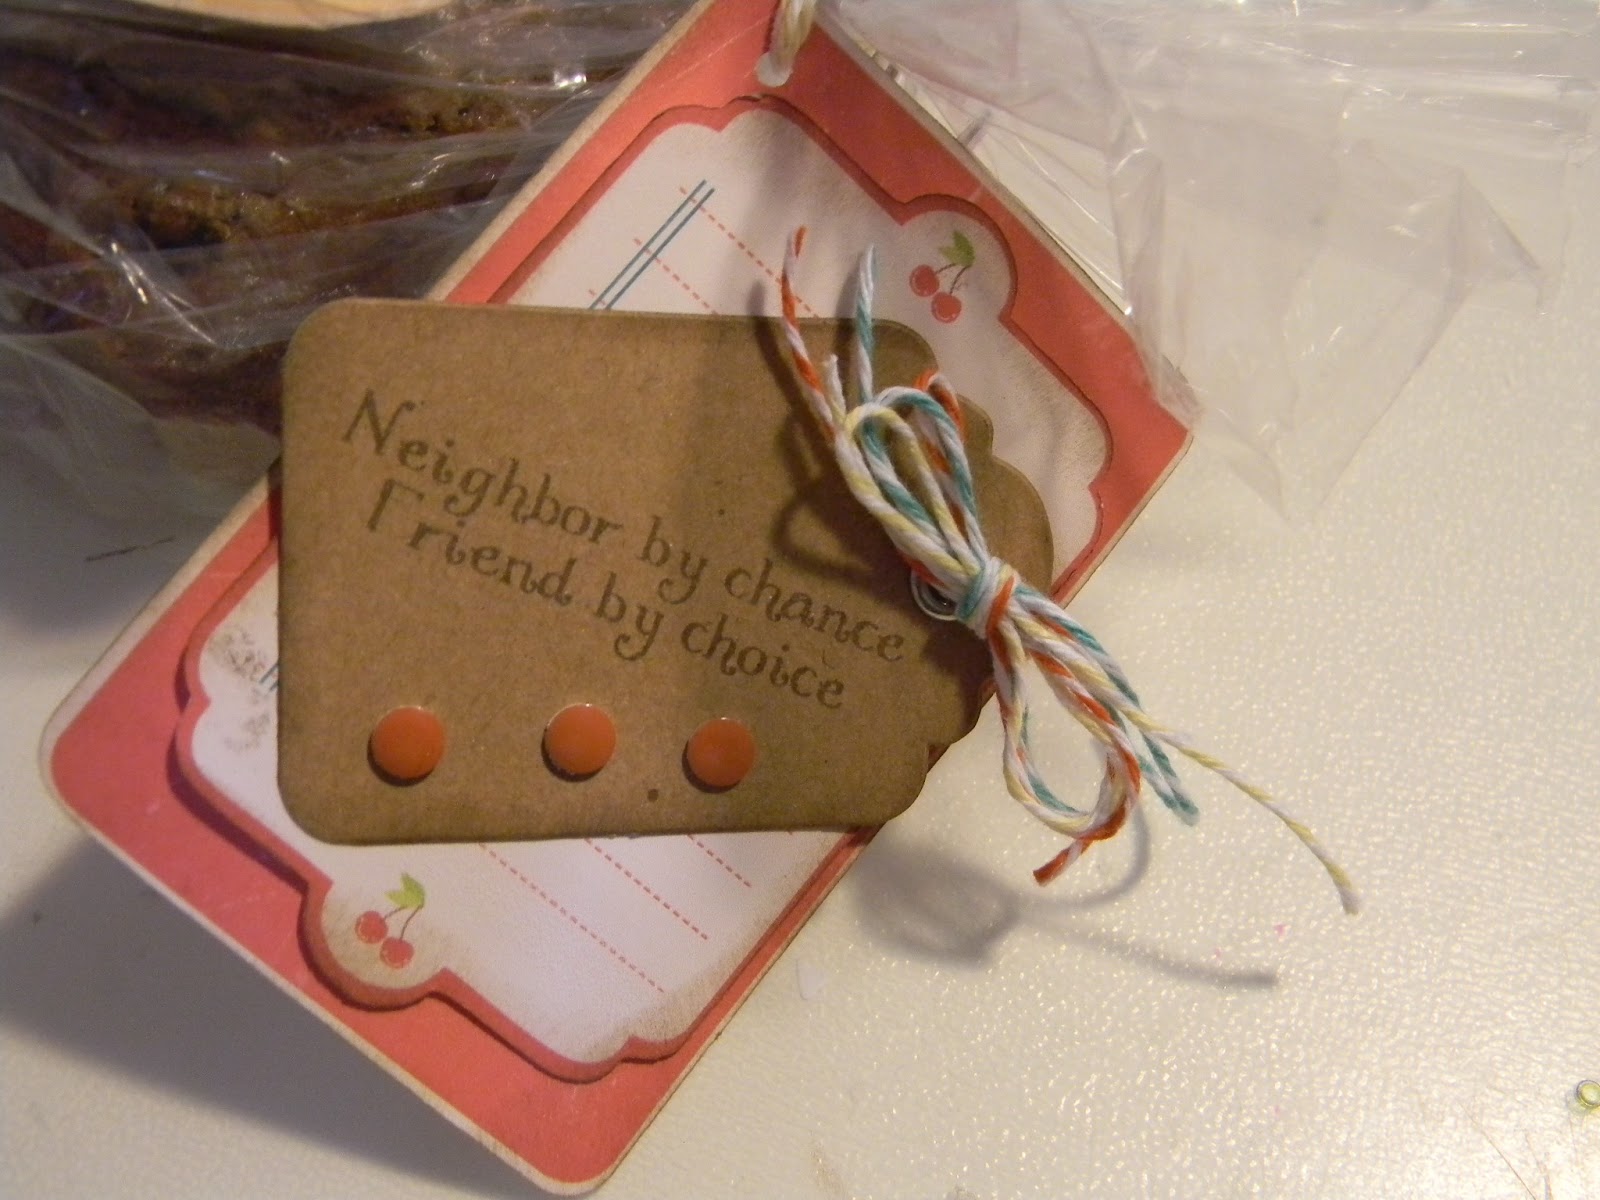
For today's Exploring Cricut DT project I made a cute label and tag for some homemade chocolate banana nut bread Sara and I made for a neighbor.

This project just begged for the Imagine cartridge Kate's Kitchen! The retro themed images and colors are too darling to resist.
I chose the bread and butter image, cut it at 3" using the layer feature. After inking the edges I ran it through my Cuttlebug for a bit of texture. I also added foam tape to part of the layers.
Next came the "Made with Love" label and that was cut at 4.5" (no layers to this one) I added a twine bow and enamel dots.
The tag was also cut at 4.5" and had one layer which I added with foam tape. I added another tag, inked the edges, wrapped with twine and added a few more enamel dots. The sentiment is from Pink By Design's Home Sweet Home stamp set.


Please visit Exploring Cricut for daily Cricut inspiration. The Design Team comes up with some wonderful projects using cartridges and images that always amaze me.
Also... Another great challenge just up ahead... Be sure to play along.

Thank you for stopping by.

Saturday, June 22, 2013

Fun-Day Friday Challenge #5: Critters!

Happy Saturday my Fellow Crafty Friends,

Do you ever wish there were more hours in the day to craft? That's the way I am feeling lately.

 Be sure to visit
Jo's Scrap Shack as  she has fun challenges that run from Friday to Friday, which I love because then I am able to use the extra time found on weekends to create!

This week the challenge was to use a "critter" as part of your project. One of my girlfriends just welcomed grand baby #5, a beautiful petite little baby girl. I brought the family dinner today along with a little something and made this little tag to tie on the package.

I started with a pre-made tag, inked the edges and created little banners from Paper Trey Ink's Sweet Blush cardstock. The Baby Button Bits stamp set is also from Papertrey ink and I used the Bear image stamped and cut in a medium brown cardstock from Recollections and added it to the tag using a double thickness of  foam tape for dimension, a little doodle with a white gel pen helped to add a bit of brightness and contrast. I added a button, twine and ribbon also from Papertrey ink. The sentiment is from the same stamp set and I added a little bling to finish  it off.

What to you think? Cute??


Friday, June 21, 2013

Simon Says Stamps & Show: Kraft Challenge!- "Wanted"

Happy Friday everyone,

This week at Simon Says Stamp & Show the challenge is to use Kraft... I haven't entered a challenge over there before so I was looking forward to taking on the task!
I am planning my dad's 70th birthday party and since he is an avid western fan, the Kraft scheme worked perfectly.
I started with Paper Trey Ink Vintage Cream and Kraft cardstock.
The stamped images are from Pink by Design. 
 After choosing several of the images, I began stamping, inking and punching. Then created a banner and finally adding some little details like PTI button twine and pearls.
I punched the circle on the top right to reveal the bronco image while making sure the inside invite information didn't interfere with the space.


This was a simple design, something I am not accustomed to doing. I always want to add "one more thing".
Please take a minute and pop on over to check out the awesome inspiration.

Thanks for stopping by.


Monday, June 17, 2013

"Father's Day Challenge at Exploring Cricut!

Good Morning and happy Monday. I usually don't love Monday's but this one is terrific because today starts a new challenge over at Exploring Cricut
Today's challenge is to create a card, layout or project for the favorite man in your life and use your Cricut! Super easy right?

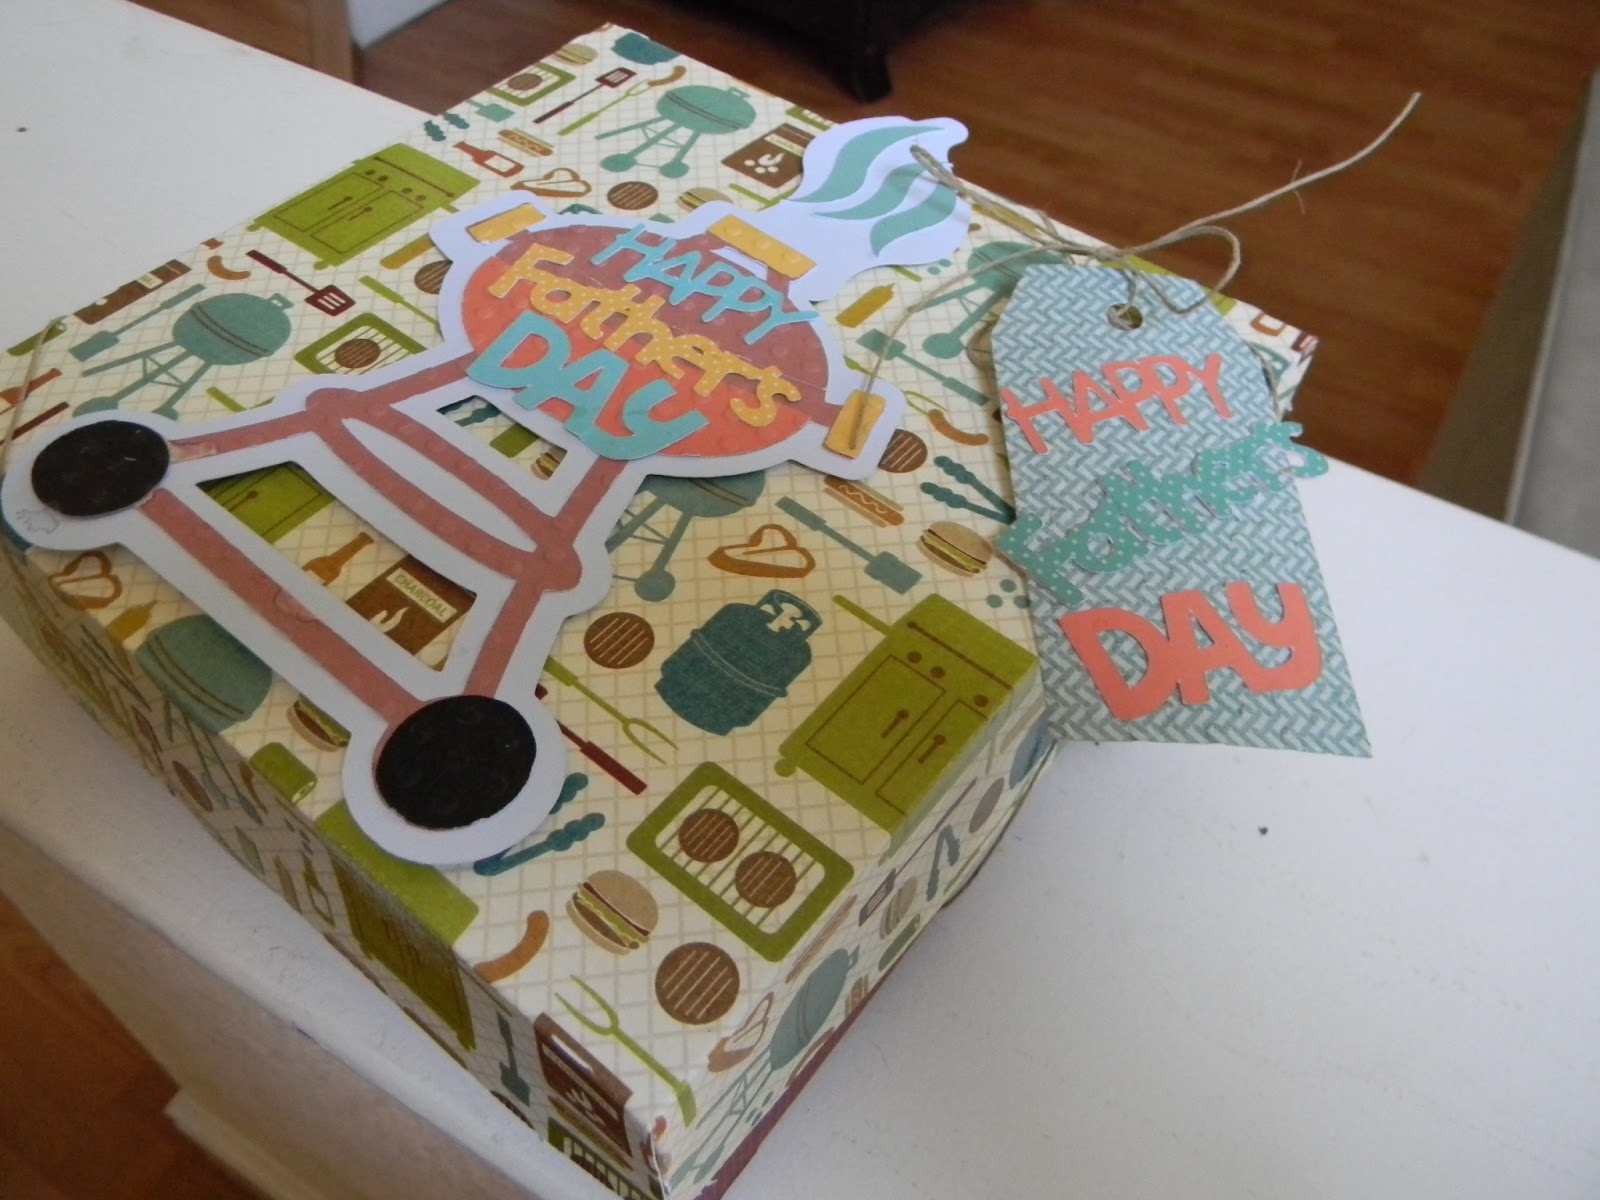
I created a couple of gift boxes and tags. I started with the Sweet Tooth Boxes Cartridge and chose the cupcake box and cut it at 11.5". There are three different lids to choose from, I chose the square and opted not to add the insert for cupcakes since I was filling my box with other goodies. Homemade brownies!
These particular boxes go together easily and quickly. No fussing... Which I love especially when I am making more than one of something.
The paper is from DCWV Guy Stack. An oldie but goodie.
Next came the images to go on top... I was trying to coordinate the paper and images and it was pretty easy with all of the cartridge choices available:)

The shirt and tie image are from Create a Critter 2 and cut at 7".  I ran the tie through the Cuttlebug and attached it with some foam tape. I love how it came out and matched the ties on the paper.


Next, the Summer Celebrations cartridge had this great BBQ image, so I cut that at 7.5" with all of the layers. The "Happy Father's Day" word art is from the phrase feature found on the Create a Critter 2 cartridge cut at 3". The tags were also cut from the Sweet Tooth Boxes cartridge.


Thank you for visiting. Be sure to check out the wonderful projects posted at Exploring Cricut and enter the challenge!


Friday, June 14, 2013

"Gone Fishin.." Exploring Cricut Design Team Post

Happy Friday everyone...I just love the weekend. It's Father's Day weekend too, so even better. What are you up to, anything special planned for dad, hubby? We are heading out to the lake to camp for a few days. I am so looking forward to it.

It is also my day to post over at Exploring Cricut, a blog dedicated to all things Cricut!
Be sure to stop by and check out the daily posts created by the wonderful design team.

For my project today, I created a little gift bag using TBBM cut using the fit to page feature. I started with the Imagine Good Old Days cartridge. The designs on this one are retro looking and vintage. So fun! I chose the print I wanted for my bag and cut that out. Next, I chose the image of the Dad going fishing. The image was cut at 3" using the layers feature. I ran the pieces through my Cuttlebug and added some foam tape for dimension.
Every year as part of hubby's father's day gift, the kids and I get him his fishing license. So of course I thought this little bag would be perfect.


Thank you for stopping by and have a wonderful Father's Day weekend. Don't forget a new challenge starts on Monday, another great reason to visit Exploring Cricut!


Tuesday, June 11, 2013

Peachy Keen Challenge:13-23 3D Object Birthday

Hello all,
Just a quick post for my project entered in the Peachy Keen Weekly Challenge.
This week the challenge was to create a 3D object with a birthday theme.
I started by choosing the Peachy stamps I wanted to use. I recently received my June Stamp of the Month set and I just knew I wanted to use the adorable pinwheel stamp.
I cut a cupcake box using my Imagine and the All Wrapped Up cartridge using the fit to page feature. Next I put in the Sweet Treats Cartridge in my Imagine and created the cute little cupcake using the All Wrapped Up colors. The cupcake was cut at 3.5" with layers. That cartridge also has a tag feature and I cut it at 3.5" also. I ran it through the Cuttlebug and added Glossy Accents to the cherry on top. The sweet little Peachy Face is from the Wide Eyed Kids stamp set.
I printed a couple of extra images so I would have the patterns and colors to stamp and cut the pinwheels from. I added foam tape to the pinwheels for extra dimension.
The sentiment is from Peachy Keen's January Stamp of the month set. I added some twine to the tag also.


Thank you for stopping by and be sure to visit Peachy Keen Challenge Blog for some really amazing projects and I do mean amazing.